Showing posts with label techniques. Show all posts

Tuesday, May 22, 2012

Ready, Set, Grow


I got up early on Sunday morning to head to Russell's Garden Center so that I could buy everything needed to get my garden going for the season. I wanted to beat the traffic and the crowds, since it was going to be another beautiful day in Boston.  I also knew that I had a long day ahead of me since I had not quite yet finished prepping the beds.  In addition to my "standard" list of veggies (with a few new varieties thrown in), my goal was to vary my raised beds this year with some flowers.  I am very fortunate to have extra space this year, as my friend is not able to garden in her 6' x 3' bed.  I was incredibly overwhelmed by the vast amount of flower varieties, but ultimately ended up going with a few favorites that will hopefully make nice arrangements throughout the summer. Here is what I ended up with...

Veggies/Herbs
Cucumber - Burpee Gold Standard Hybrid
Tomato - Sugary (grape), Sunsugar
Eggplant - Black Beauty
Pepper - Valencia
Sweet Basil
Rosemary

Flowers
Argyranthemum - white & pink
Dahlla
Coneflower
Snapdragon
Cosmos
Zinnia

After a lot more work prepping the beds and refreshing the "square foot" lines with new string, I planted got everything planted.  In addition, I planted the three grafted tomato varieties I had ordered from Burpee (Bradywine and two San Marzano) and sowed one row of the following:
Carrot - Little Finger, Danvers
Bean - Kentucky Wonder, Pole

Since I am always looking for new tips and tricks, I decided to try the "Tomato and Pepper Automator Trays."  I have to say that they were a little awkward to set up, but I am hoping that they give my two Grafted San Marzano plants an extra boost.


Overall, I am really excited for my garden this year and to see the transformation as everything grows. Who knows if the flowers will eventually overshadow the veggie plants, but I tried to place them as best I could based on sun pattern, and all I can do is hope for the best.  With rain the past two days, hopefully everything will adjust to their new home.


5.20.2012

Saturday, May 7, 2011

Three New Experiences: Mail Order Plants & Grafted Heirloom Tomatoes

I am excited for the following three reasons I am about to try for the first time:
1. Mail Order Plants
2. Heirloom Tomatoes
3. Grafted Tomatoes

I first heard about grafted tomatoes a few weeks ago upon receiving an article via email from Johnny's Selected Seeds (JSS). According to JSS, grafted tomatoes "can improve production, overall crop health and vigor, reduce or eliminate the need for pesticide use, lengthen harvest duration, and significantly increase net income." Below is a photo from JSS's article showing the difference in appearance between grafted (left) and non-grafted (right) tomato plants.


Here is JSS's step-by-step guide if interested to give it a try as they claim it is not difficult. I am a bit too intimidated by the process to try it myself, so I noted the technique, but moved on.

However, on Friday the topic of grafted tomatoes re-entered my inbox as I received another email - this time from Burpee - stating that they had 6 varieties of grafted heirloom tomato plants for sale. Still curious about the benefits of grafted tomatoes, Burpee's well advertised "limited time while quantities last" was all I needed to jump on the offer. Here is Burpee's article about grafted tomatoes. I ordered two San Marzano plants and one Big Rainbow.

Since I was expect to buy and plant all my tomato plants next weekend, these three tomato plants (expected to arrive next week) will likely be the first I add to my garden. I am very excited and will provide updates about all three of these new experiences in time.

Monday, May 2, 2011

Hydroponic Store in Cambridge

A few days ago, I received a postcard in the mail for a new store that opened up on Mass. Ave in Cambridge. The word "garden" caught my eye, so it was spared going into the recycling bin.


I assume that GYOstuff hopes to attract city-dwellers with the idea of being able to have a garden indoors, since many people do not have access to a yard or even patio/deck. I personally do not know much about hydroponics, but plan to do a little research and visit the store soon.

Sunday, April 3, 2011

Plant Markers

A simple google image search for "plant markers" will bring up practically an infinite number of store bought, home-made, wood, metal, simple, extravagant, cheap, or expensive ideas to choose from. It doesn't matter what you decide to use, as long as you are keeping track of what you plant where!

Here are some cute "un-traditional" markers that a friend found:


I am going to continue using the stone markers that I have made for any veggie that I continue to plant, but also anticipate using a combination of other markers - some I have been given, some that I may make, or some that I may buy.

I like this simple, natural twig marker idea from Martha Stewart.

Sunday, March 27, 2011

All in a day's work

On a beautiful, but chilly Sunday morning I set out to attend to my garden for the first time since my move in November. Here is where I started:


Taken from my 2nd floor


Everything looked pretty dreary but, I set off to buy some compost and start on my tasks.

I decided to try a new method of sectioning off each square foot. Instead of the lath boards (which I used for my first two seasons, and is suggested in the SFG book) I wanted to try string for the following reasons:
  1. The condition of my two-season boards was pretty poor, so I didn't think they were worth moving (I gave them to a fellow gardener to use).
  2. Each lath boards was an inch wide, so they made the planting area within each square foot smaller (every inch counts!)
  3. When moving/adding soil it was sometimes challenging to spread it out between the squares.
There honestly are probably many easier ways of going about laying out the grid. However, I decided to use 1/2" screw eyes & polypropylene string.


It was pretty time consuming and I had a minor setback when I broke my itsy-bitsy drill bit that I was using to start the 12 holes for the screw eyes, but...

Ta da! My backyard garden set up is complete and ready to go.


warm weather...I am waiting!

Sunday, April 25, 2010

Spring Cleaning in the FVG!

What a gardening weekend!! However, being exhausted and meeting fellow gardeners are two indicators that the Fenway Victory Garden's first "All Park Clean Up" of the 2010 season was a success! Saturday was glorious & sunny, perfect to welcome gardeners, friends, and members of the Boston community into the park to tackle spring chores. The agenda included: organizing the three composting areas, building new wheelbarrows, planting grass seed, re-numbering plots, building up a few plots that did not fair to well with the March floods, and collecting litter.

It was invigorating to see everyone out and ready to help! I also had recruited two friends to get their hands dirty with me - and they were in for a treat! We were assigned to one of the composting areas with three other people. Our tasks involved making three rows of debris into one [which would allow gardeners space to drop off new compost materials], garbage clean up, and making the ready-to-use compost pile into a more distinguishable pile for easy access.

Here are some shots from the morning's activities:


(the large compost area getting lots of attention; our finished compost area)


(one of the groups collecting litter along the Muddy River)

After the clean up ended, The Landsdowne Pub hosted a gathering for all gardeners involved in the clean up. After taking a break I returned to the garden to do some work on my own plot, wanting to take advantage of the weather! As luck would have it, a fresh, dry pile of wood chips were delivered! Everyone rushed to get their share!

Saturday's tasks:
  • planted marigolds in each of the front corners of the SFG boxes
  • planted a lavender bush
  • hung a pot of pansies
  • planted two dahlias
  • built a SFG trellis for the middle box (Box 2); unfortunately the trellis netting was defective and the squares are not perfect; i know it is not a big deal for the growing veggies, but I hate that it doesn't look as perfect as the other two...
  • took down a side of my potato box, allowing it to get more sun
  • added a wheelbarrow of compost to the 'addition'
  • planted grass seed in my future 'sitting area'
  • added a wheelbarrow of wood chips to the 'addition,' creating a small walkway - this area is really starting to come together!

  • weeded along my fence
  • added 5 wheelbarrows of wood chips to the aisle


On Sunday, I returned just for two hours to work a little more. I accomplished what I wanted to do, but I was definitely low-energy!

Sunday's tasks:
  • trimmed the wild rose bushes along the back fence (in & outside the plot)
  • added yet more compost to the back raised bed
  • sowed poppy seeds; hoping to eventually turn this area into a wildflower area


Here is how my plot is looking as the average last frost date approaches this week:


A final tip for people on a wait list at a community garden: VOLUNTEER! It is the best thing you can do in order to show your interest and dedication.

Wednesday, June 24, 2009

A Soggy Gardener

Here I am in all my garden glory...


I was not looking forward to going to the garden tonight since-surprise-we are getting more rain! However, since I had not been to the garden in a few days, I wanted to make sure that "everybody" was doing OK! Aside from the days of rain, we had relatively high winds earlier in the week. I also wanted to do a bug check as many fellow gardeners are reporting a few bug problems.

I am happy to report that my garden appears to be doing very well! The worse thing was that my Dahlia had fallen over...I really need to finish the raised bed around the perimeter and get what few plants I have in the ground!!

What I accomplished tonight:
  • Thinned out radish sprouts (see photos below)
  • Cut off wilting/dead leaves
  • Took an inventory of any bug problems
  • Picked 'suckers' off the tomato plants to encourage growth (so they don't take energy away from yummy tomato production)!
The only bugs I really noticed were small, black flies with clear wings and a lot of ants. I first noticed the ants when I was clearing the plot, and now they have moved right on into the raised beds. I am not too worried about either insect, but does anyone know what the small, black flies are? (I have found them on the stems and under the leaves of tomatoes, cucumbers, etc)

Here are photos from thinning my radish sprouts (before, during & after):


Other highlights from today:
'Early Girl' Tomatoes are growing!

Sugar Snap Pea sprouts

My growing 'Red Beauty' Pepper

My Howden Pumpkin trying to take over!

Monday, June 15, 2009

A garden that finally looks like a garden!

Success!!! After a very long but productive weekend the garden has taken shape and vegetables have been planted! I could not be happier about how it has turned out. I will walk you through our recent progress with photos...

The 3-4x4 raised beds & perimeter frame are in place

Laying down the weed blocking fabric & securing it with fabric pegs

Mel's Mix: 1/3 peat moss, 1/3 vermiculite, 1/3 compost (left to right)

Mel's mix - mixed; wood chips cover the ground

A raised bed - filled with Mel's Mix

A complete box - with lath boards to divide the bed into square feet (for easy plant/seed calculations)

Completed Box #1 with trellis (made from conduit pipes and nylon trellis netting)

Completed Box #2

Completed Box #3 with trellis

The big picture


Lupin (left) & Dahlia (right) for the flower beds along the perimeter

So, what have I planted so far?

Box 1
  • Green Bean - Blue Lake Bush Bean (7)
  • Cucumber - Diva (2)
  • Cucumber - Burpless Supreme (2)
  • Lettuce - Head (3)
  • Marigold (6)
Box 2
  • Tomato - Sweet 100s (2)
  • Tomato - Jet Star (1)
  • Tomato - Early Girl (1)
  • Sweet Basil (2)
  • Marigold (6)
Box 3
  • Squash - ? (4)
  • Melon - Organic Hale's Best (1)
  • Pumpkin - Howden (1)
  • Pepper - Red Beauty (1)
  • Pepper - Mandarin Hybrid (1)
  • Marigold (6)
Containers
  • Mint - Spearmint (1)
  • Lemon Balm (1)
Still to plant (from seed):
  • Green Bean - Roma II
  • Cabbage - Earliana
  • Cabbage - Red Acre
  • Spinach - Salad Fresh Hybrid
  • Lettuce - Salad Bowl
  • Lettuce - Parris Island (Romaine)
  • Pea - Sugar Snap
  • Radish - Crimson Giant
  • Carrot - Short 'n Sweet

Friday, June 12, 2009

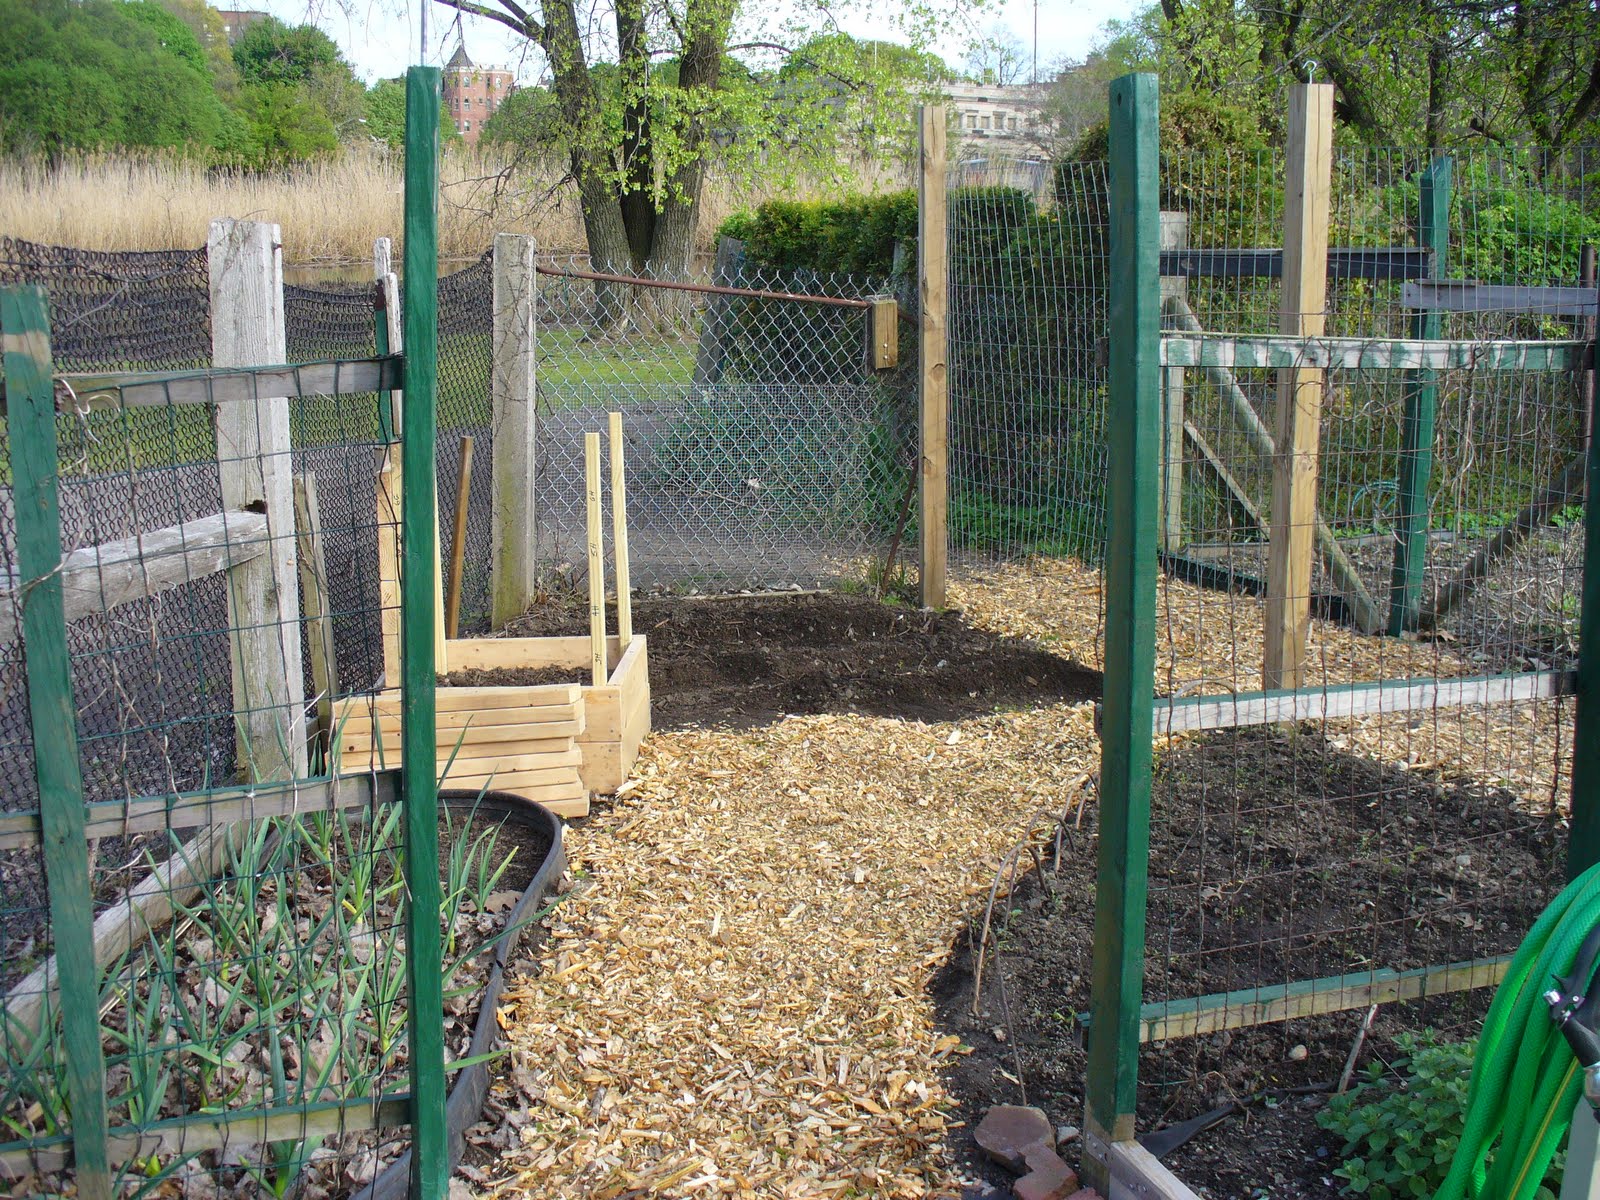
A New Fence!


My garden has a new fence!! Thanks to my wonderful boyfriend, Yves, the new fence and gate were finished late Wednesday night! Night you say?? Yes, we were able to work in the garden until 10pm! I guess you know you live in the city when there is enough artificial light for you to work that late! It also helped that the lights of Fenway Park were on as the Red Sox-Yankees game was still in play.

I am not sure what is happening with the weather lately in New England but it is the pits - and frustrating to an anxious gardener! It has averaged 60 degrees and with rain almost every day. Hopefully the sun will appear tomorrow. Luckily, I have Fridays off during the summer and used today to pick up more supplies, including the hard to find vermiculite! Yves and I also finished getting lumber to build a raised bed that will extend around the perimeter. This will be an on-going project that will one day be filled with a mix of annuals and perennials.

Tonight we leveled the garden in preparation to lay down the weed blocking fabric. We also started building the 4x4 raised beds as tomorrow should be the day for PLANTING! Since it is getting late to start most vegetables from seed, I will be buying starter plants for most of my veggies. I still have to work out exactly what I will be planting and where it will go, but should have it ready to go for tomorrow when I PLANT!! Can you tell that I am excited?? For now, here is my plot layout to give you a general idea of how it will look!

Wednesday, May 27, 2009

The Worst Thing About Gardening

The rain stopped long enough for me to enter my garden for the first time tonight!! A busy week kept me away from my first and worst task...weeding! I was able to take inventory of what had been left by the previous gardener. There wasn't much aside from some random pieces of wood, some trash, an old rake and a broken hose. I also tried to get a more accurate measurement so I could finalize my garden plan. However, there were still too many weeds in the way - but my current estimate is 31' x 12' - a very good size! If forgot to bring a compass so I could figure out the directionals, which I need to plan my layout. Taller crops should be on the northern side of a garden so they don't shade the rest of the crops. Fortunately, the map on www.fenwayvictorygardens.com fortunately had the compass rose.

I weeded for about an hour and a half - until it got dark - getting through about two thirds of the garden. Luckily most of the weeds came up easily but they seemed to never end! The gardens were pretty quiet but I had a single chickadee kept me company.


Post weeding...with still more to do!

All the weeds I pulled from my garden - three wheelbarrows full!

Next on my to-do list:
  1. Finish weeding (of course)
  2. Complete garden plan
  3. Cover entire garden with a weed blocking fabric
  4. Build and assemble raised beds
  5. Create "Mel's Mix" (mix of compost, peat moss & vermiculite)
  6. Buy plants & seeds
  7. PLANT
  8. Fence repairs